Installing all the software
1. Let’s install python
1.1 Creating a virtual environment with anaconda
Imagine that you have a toolbox where you keep all your tools. Each tool has a specific purpose: a hammer for nails, a screwdriver for screws, etc. Now, think of your computer as a large workshop where you can undertake various projects (like building software or analyzing data). For each project, you might need a different set of tools. Some projects might require a hammer and a saw, while others might need a screwdriver and a wrench.
In the world of programming, especially when working with Python, the “tools” are the various libraries and packages that you use to write your programs (like NumPy for mathematical operations, Pandas for data manipulation, etc.). Just like in a real workshop, using the right tools can make your work much easier.
However, there’s a catch. Sometimes, different projects require different versions of the same tool. Maybe one project needs a hammer with a wooden handle, but another requires one with a fiberglass handle. If you tried to use the wrong version, it might not work as well or could even mess up your project.
This is where Anaconda environments come in. An Anaconda environment is like having a separate, smaller toolbox for each project. You can put exactly the tools (libraries and packages) you need for a project into its toolbox, including the right versions. This way, when you work on that project, you know you have all the right tools handy, and they won’t interfere with the tools needed for other projects. It keeps everything organized and ensures that your projects run smoothly without conflicts between different versions of your tools.
In technical terms, an Anaconda environment is a virtual space on your computer where you can install specific versions of libraries and packages needed for a particular project. This isolation prevents conflicts and makes it easier to manage dependencies, ensuring that you can reproduce your work on another machine without issues.
Let’s create an anaconda environment for the DAFS course. Start by downloading anaconda from this website:
https://www.anaconda.com/download/success
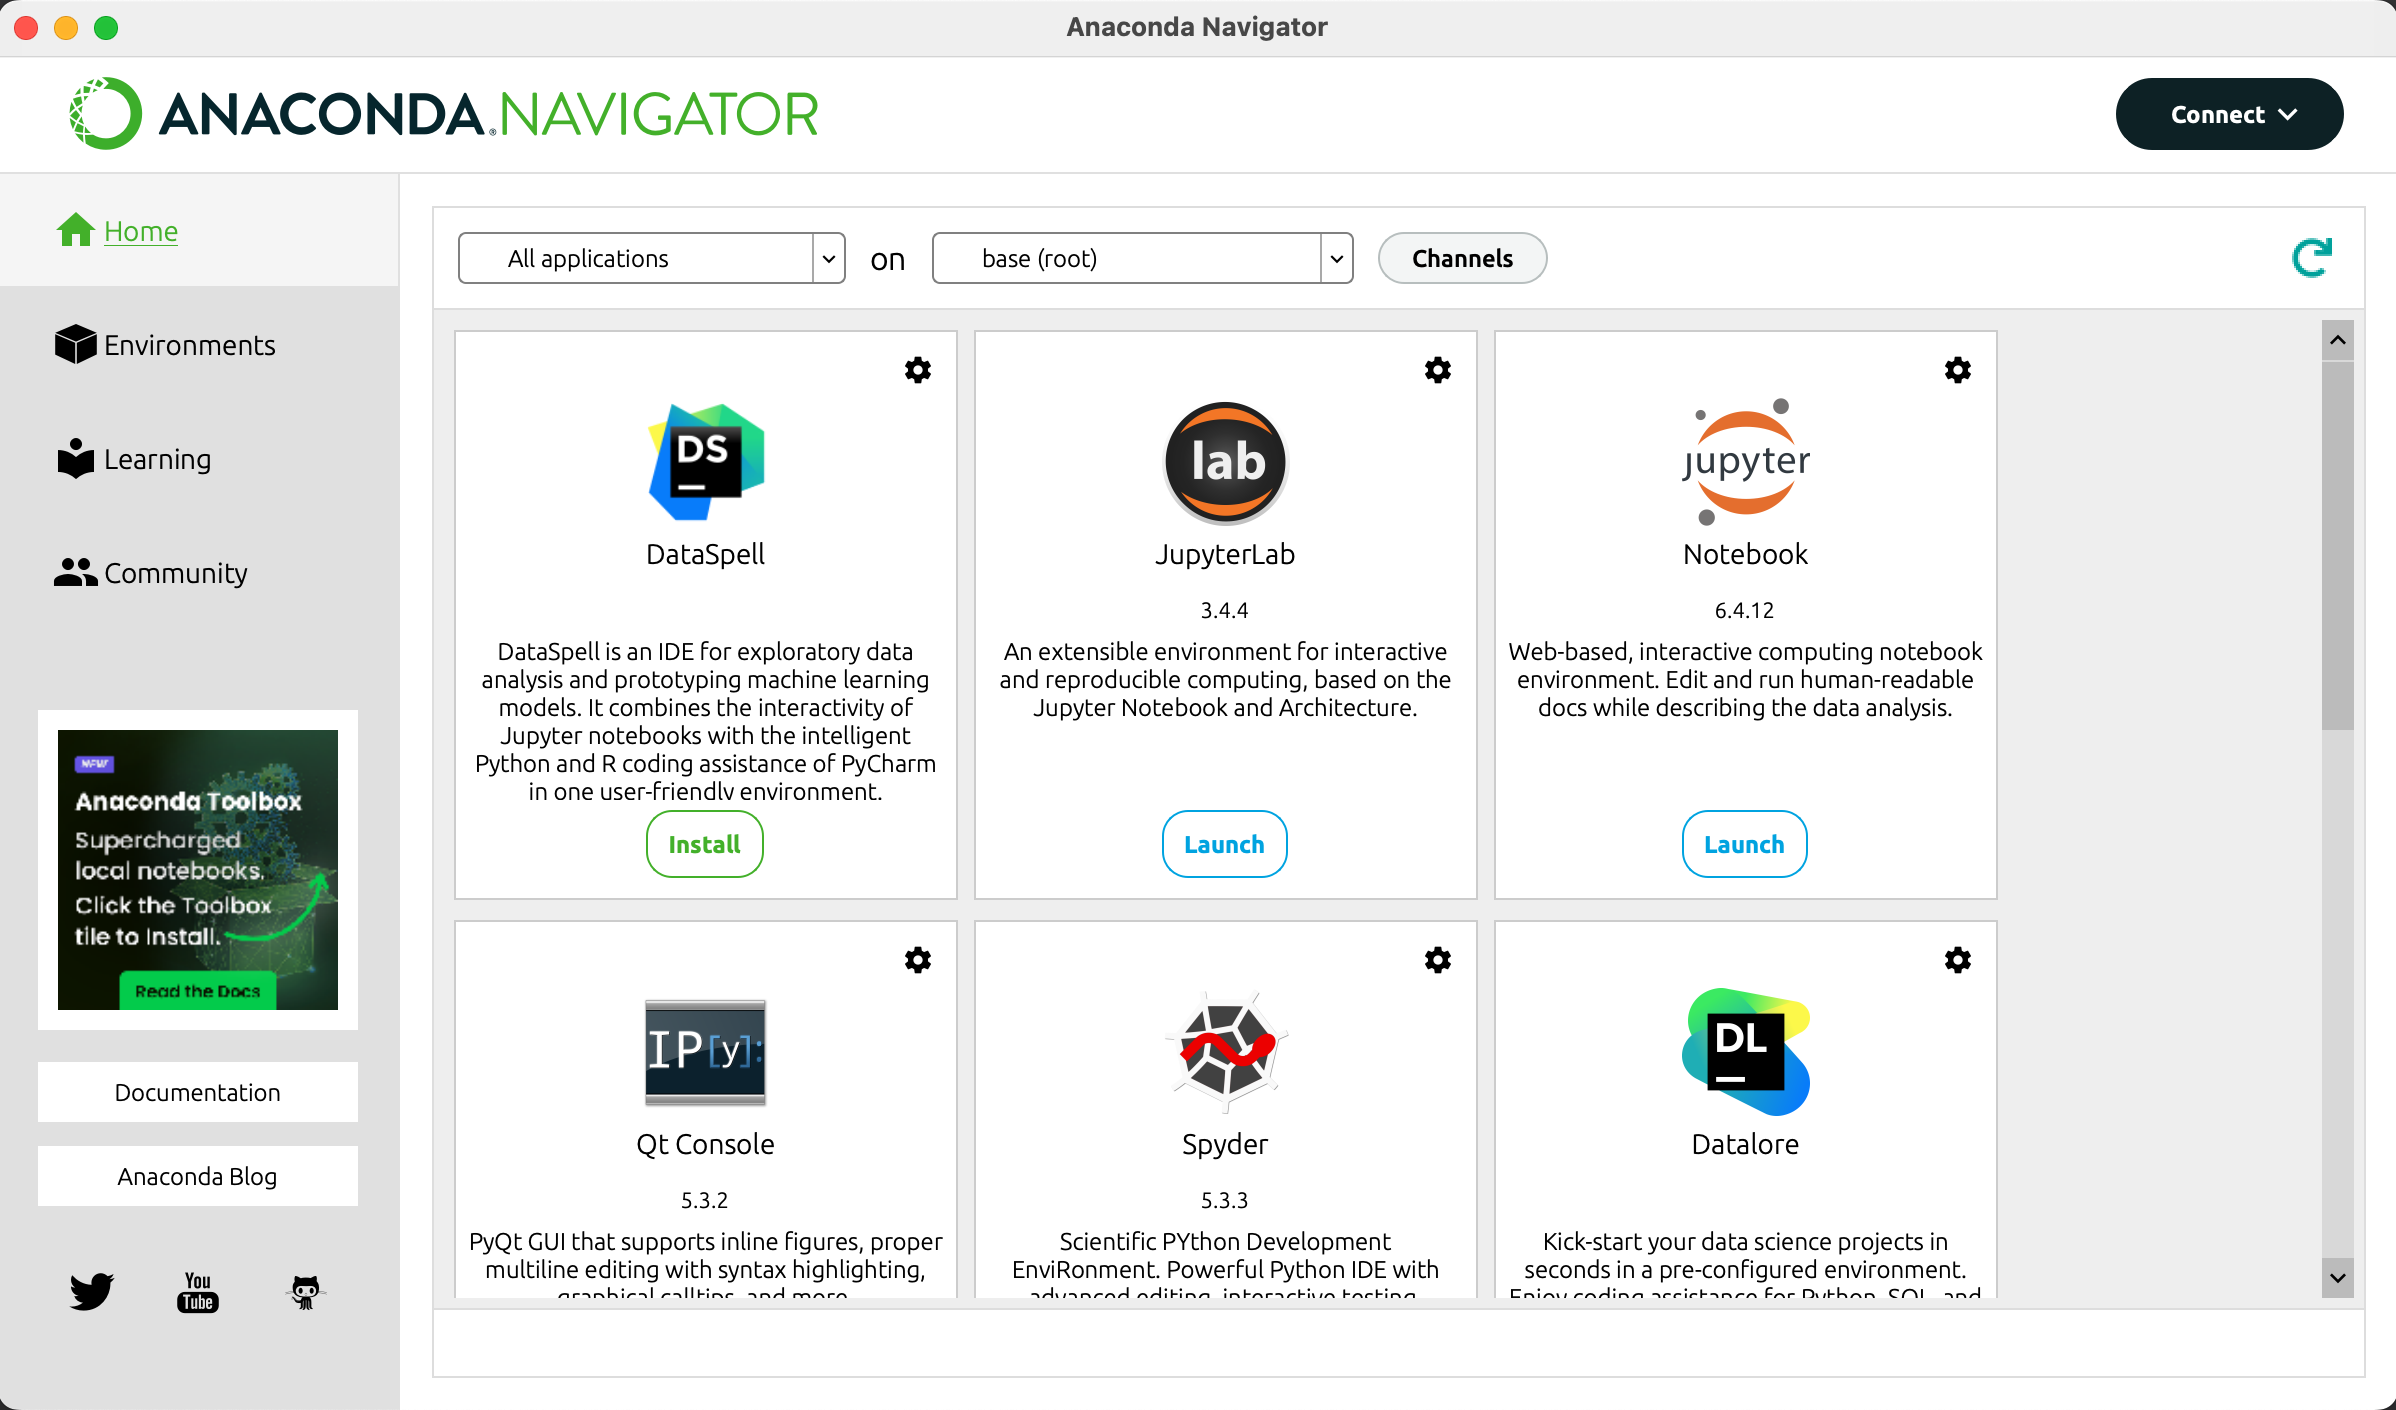
Once it’s done downloading install and launch the program. You should be greeted by a window that looks like this:
Now we start by creating the environment. Click on “Environments” on the left and then on the “create” button on the bottom:
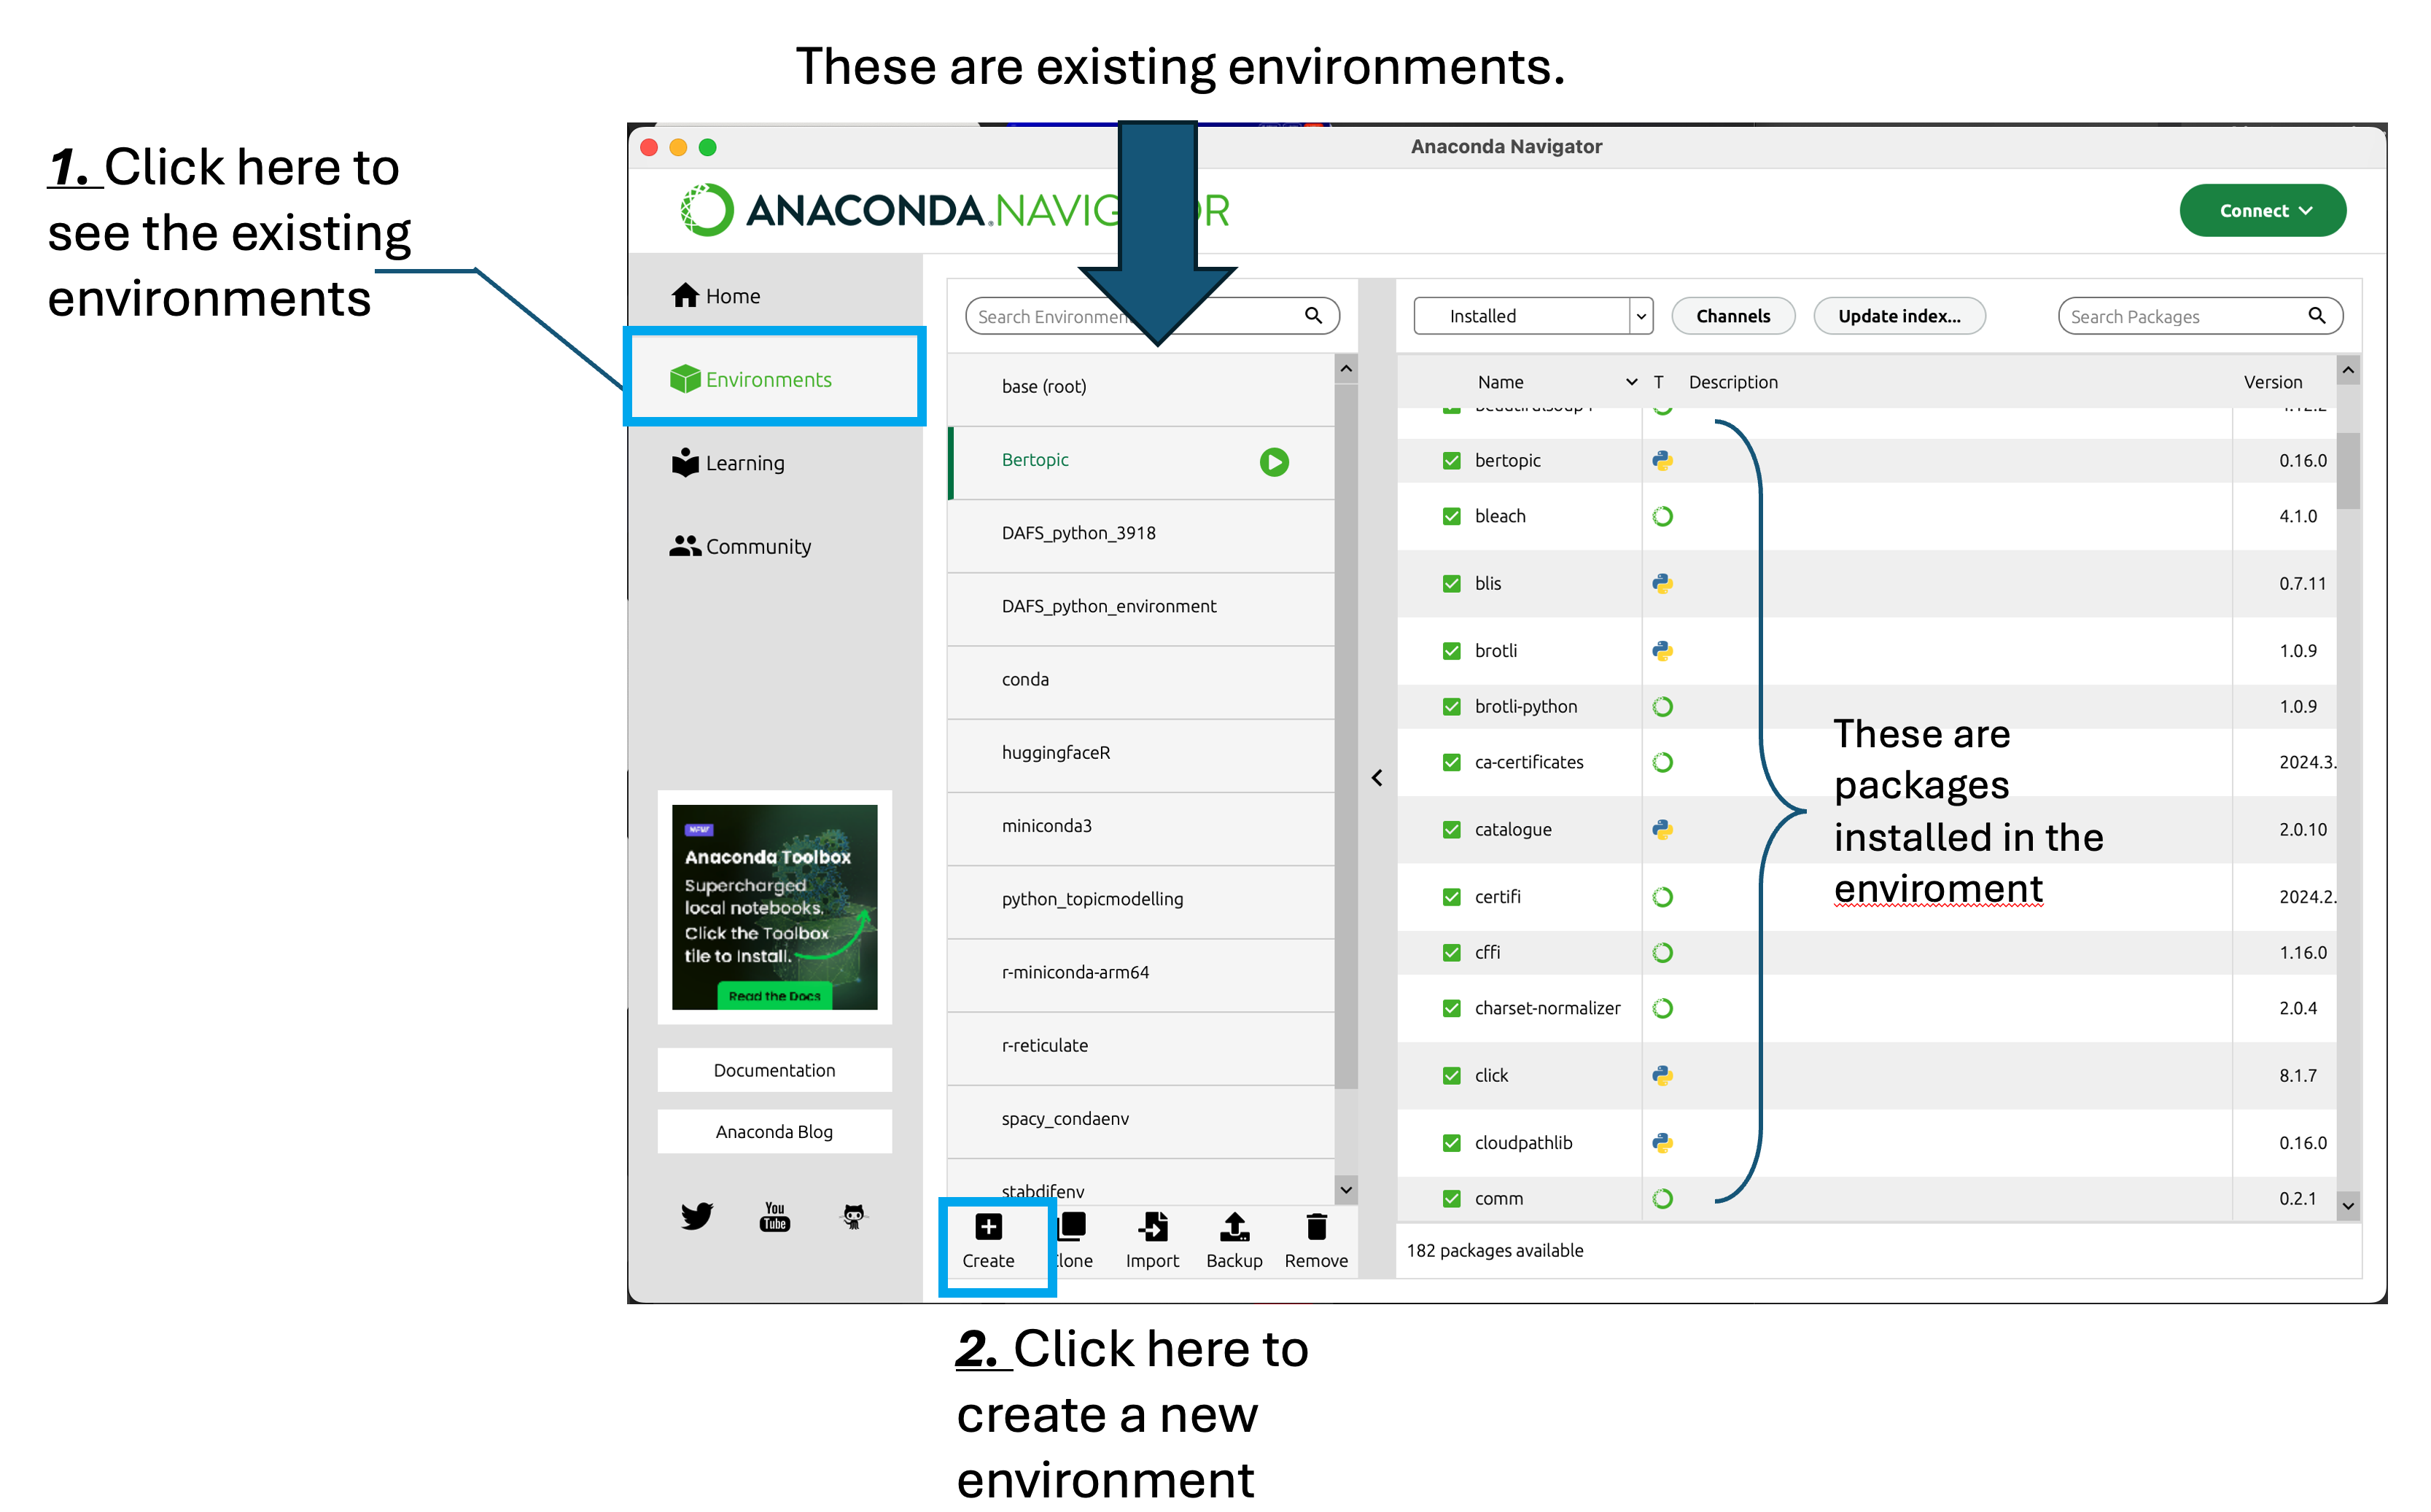
In this window, all the existing environments are listed. As you can see in this image I already have a multitude of environments. Each environment was created for specific projects or tools I wanted to test without risking creating conflicts with other projects. On the right there is a list with packages that allows you to check what is installed in each environment.
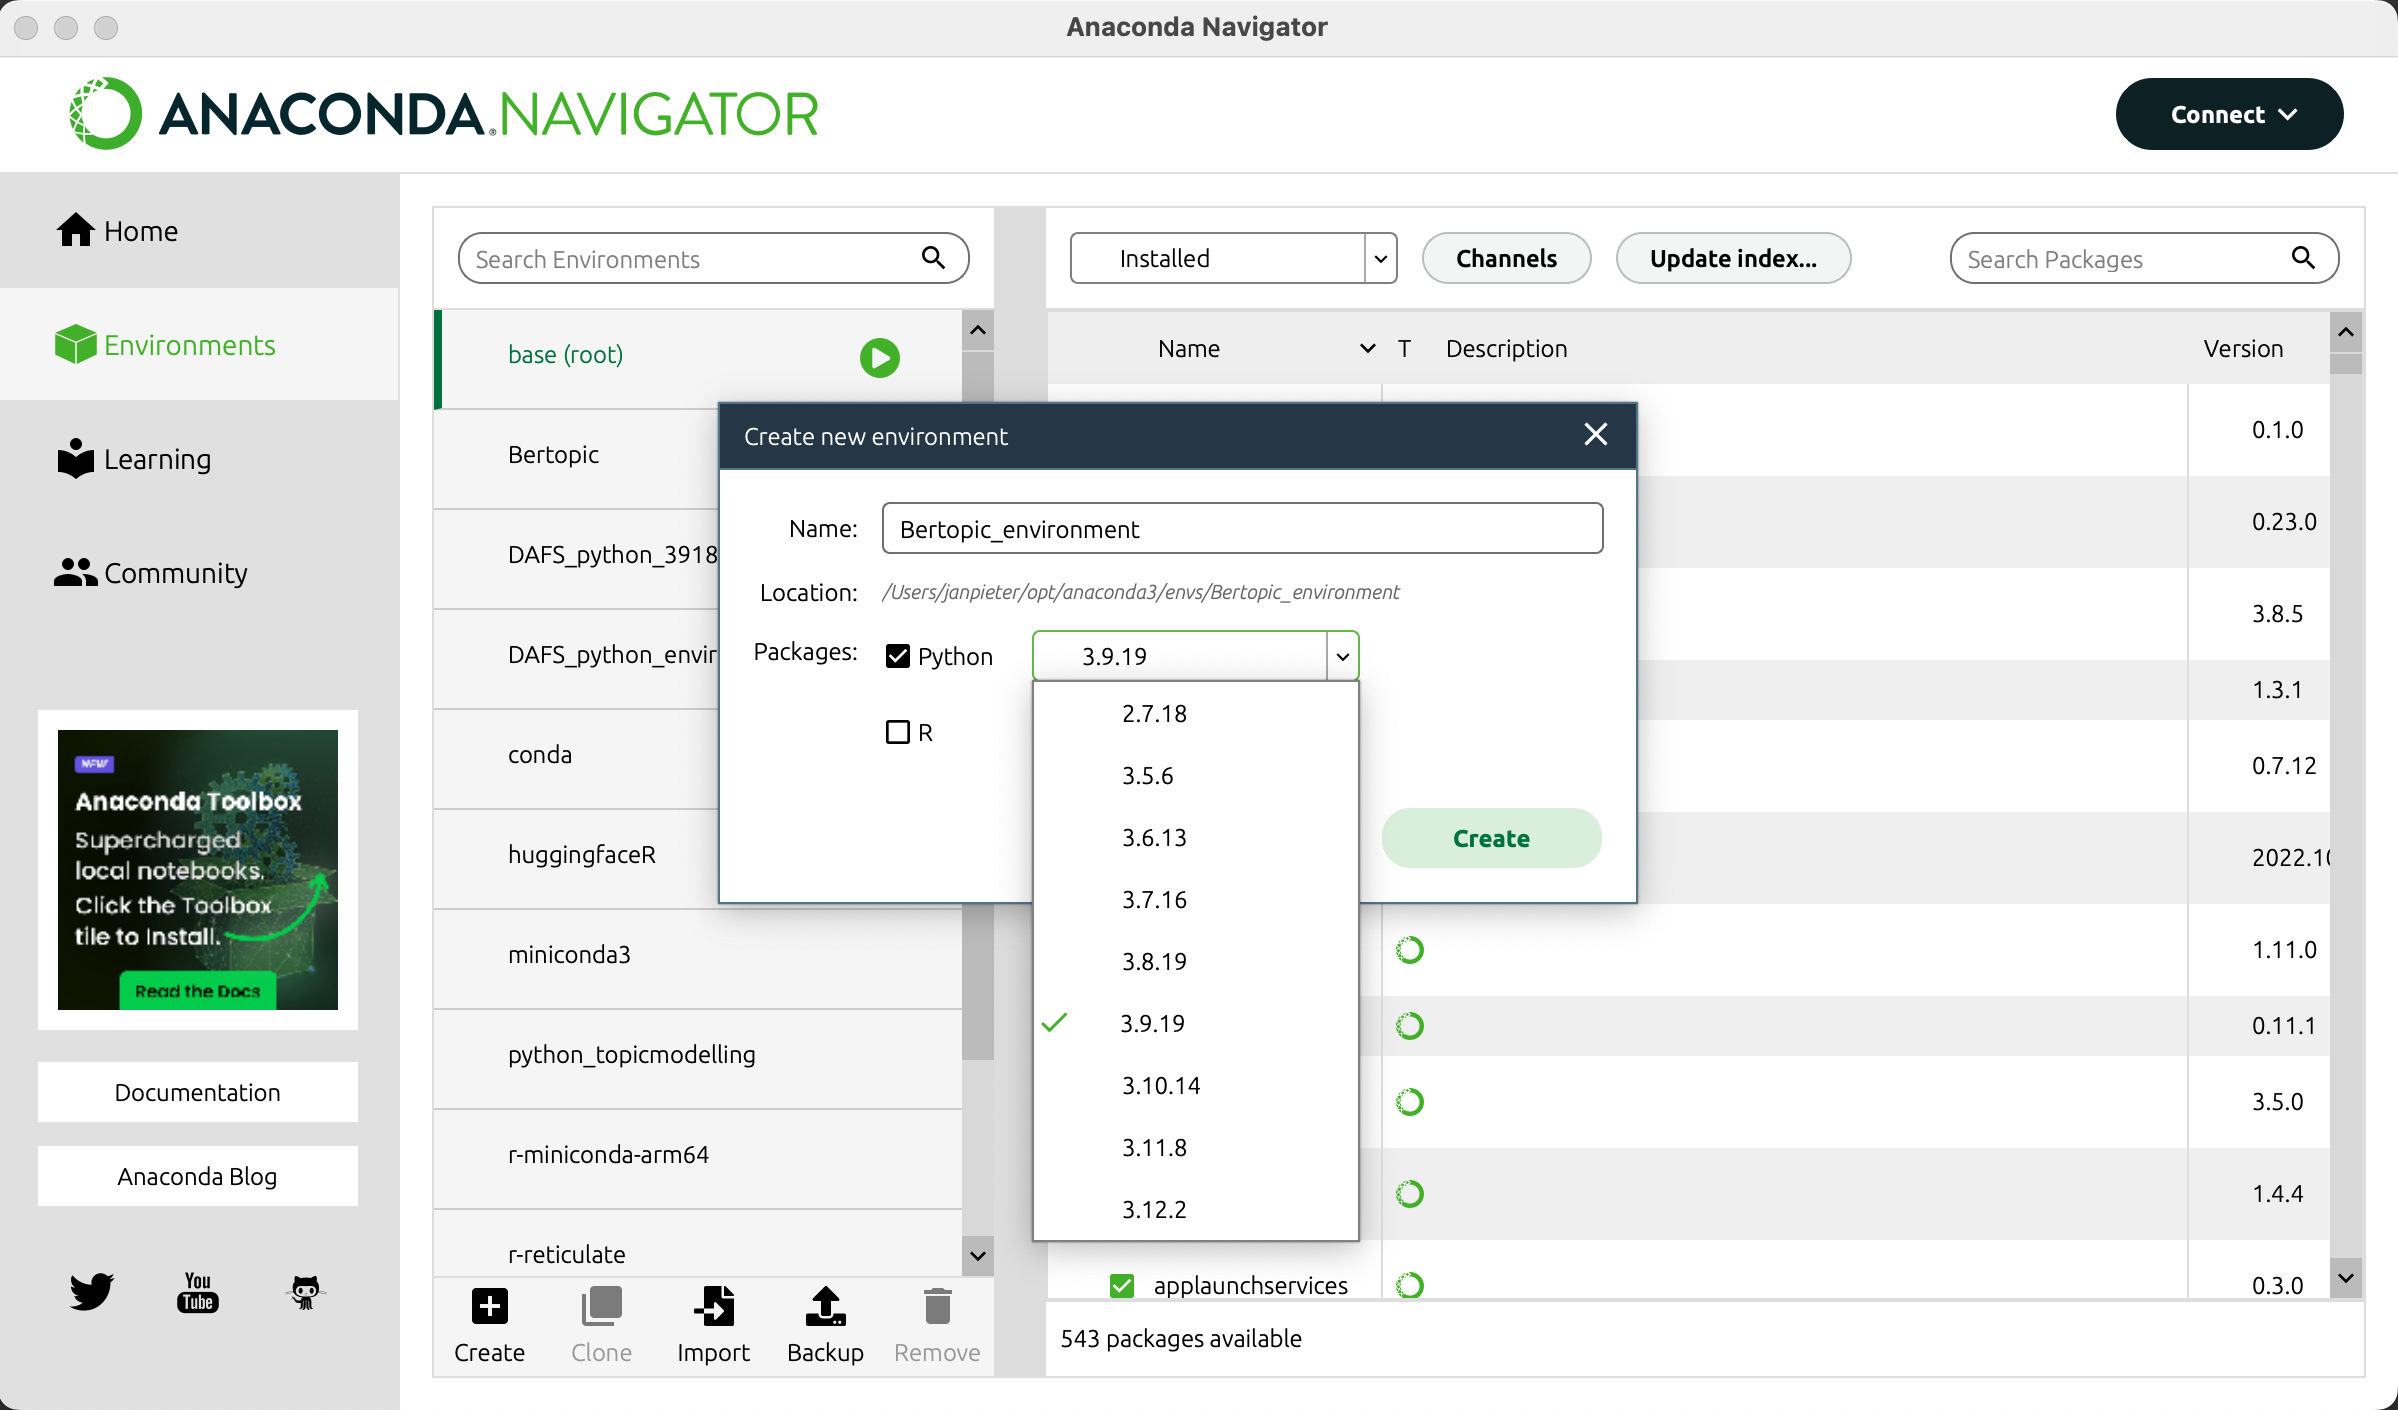
Once you click on the “create” button, you will be prompted to provide some information. First you will have to fill in a name, this is the name that will appear in the list. Second you will need to pick a version of python to use. Any version between 3.9.19 and 3.12.2 should work (I have not tested the previous versions). We will proceed with version 3.12.2.
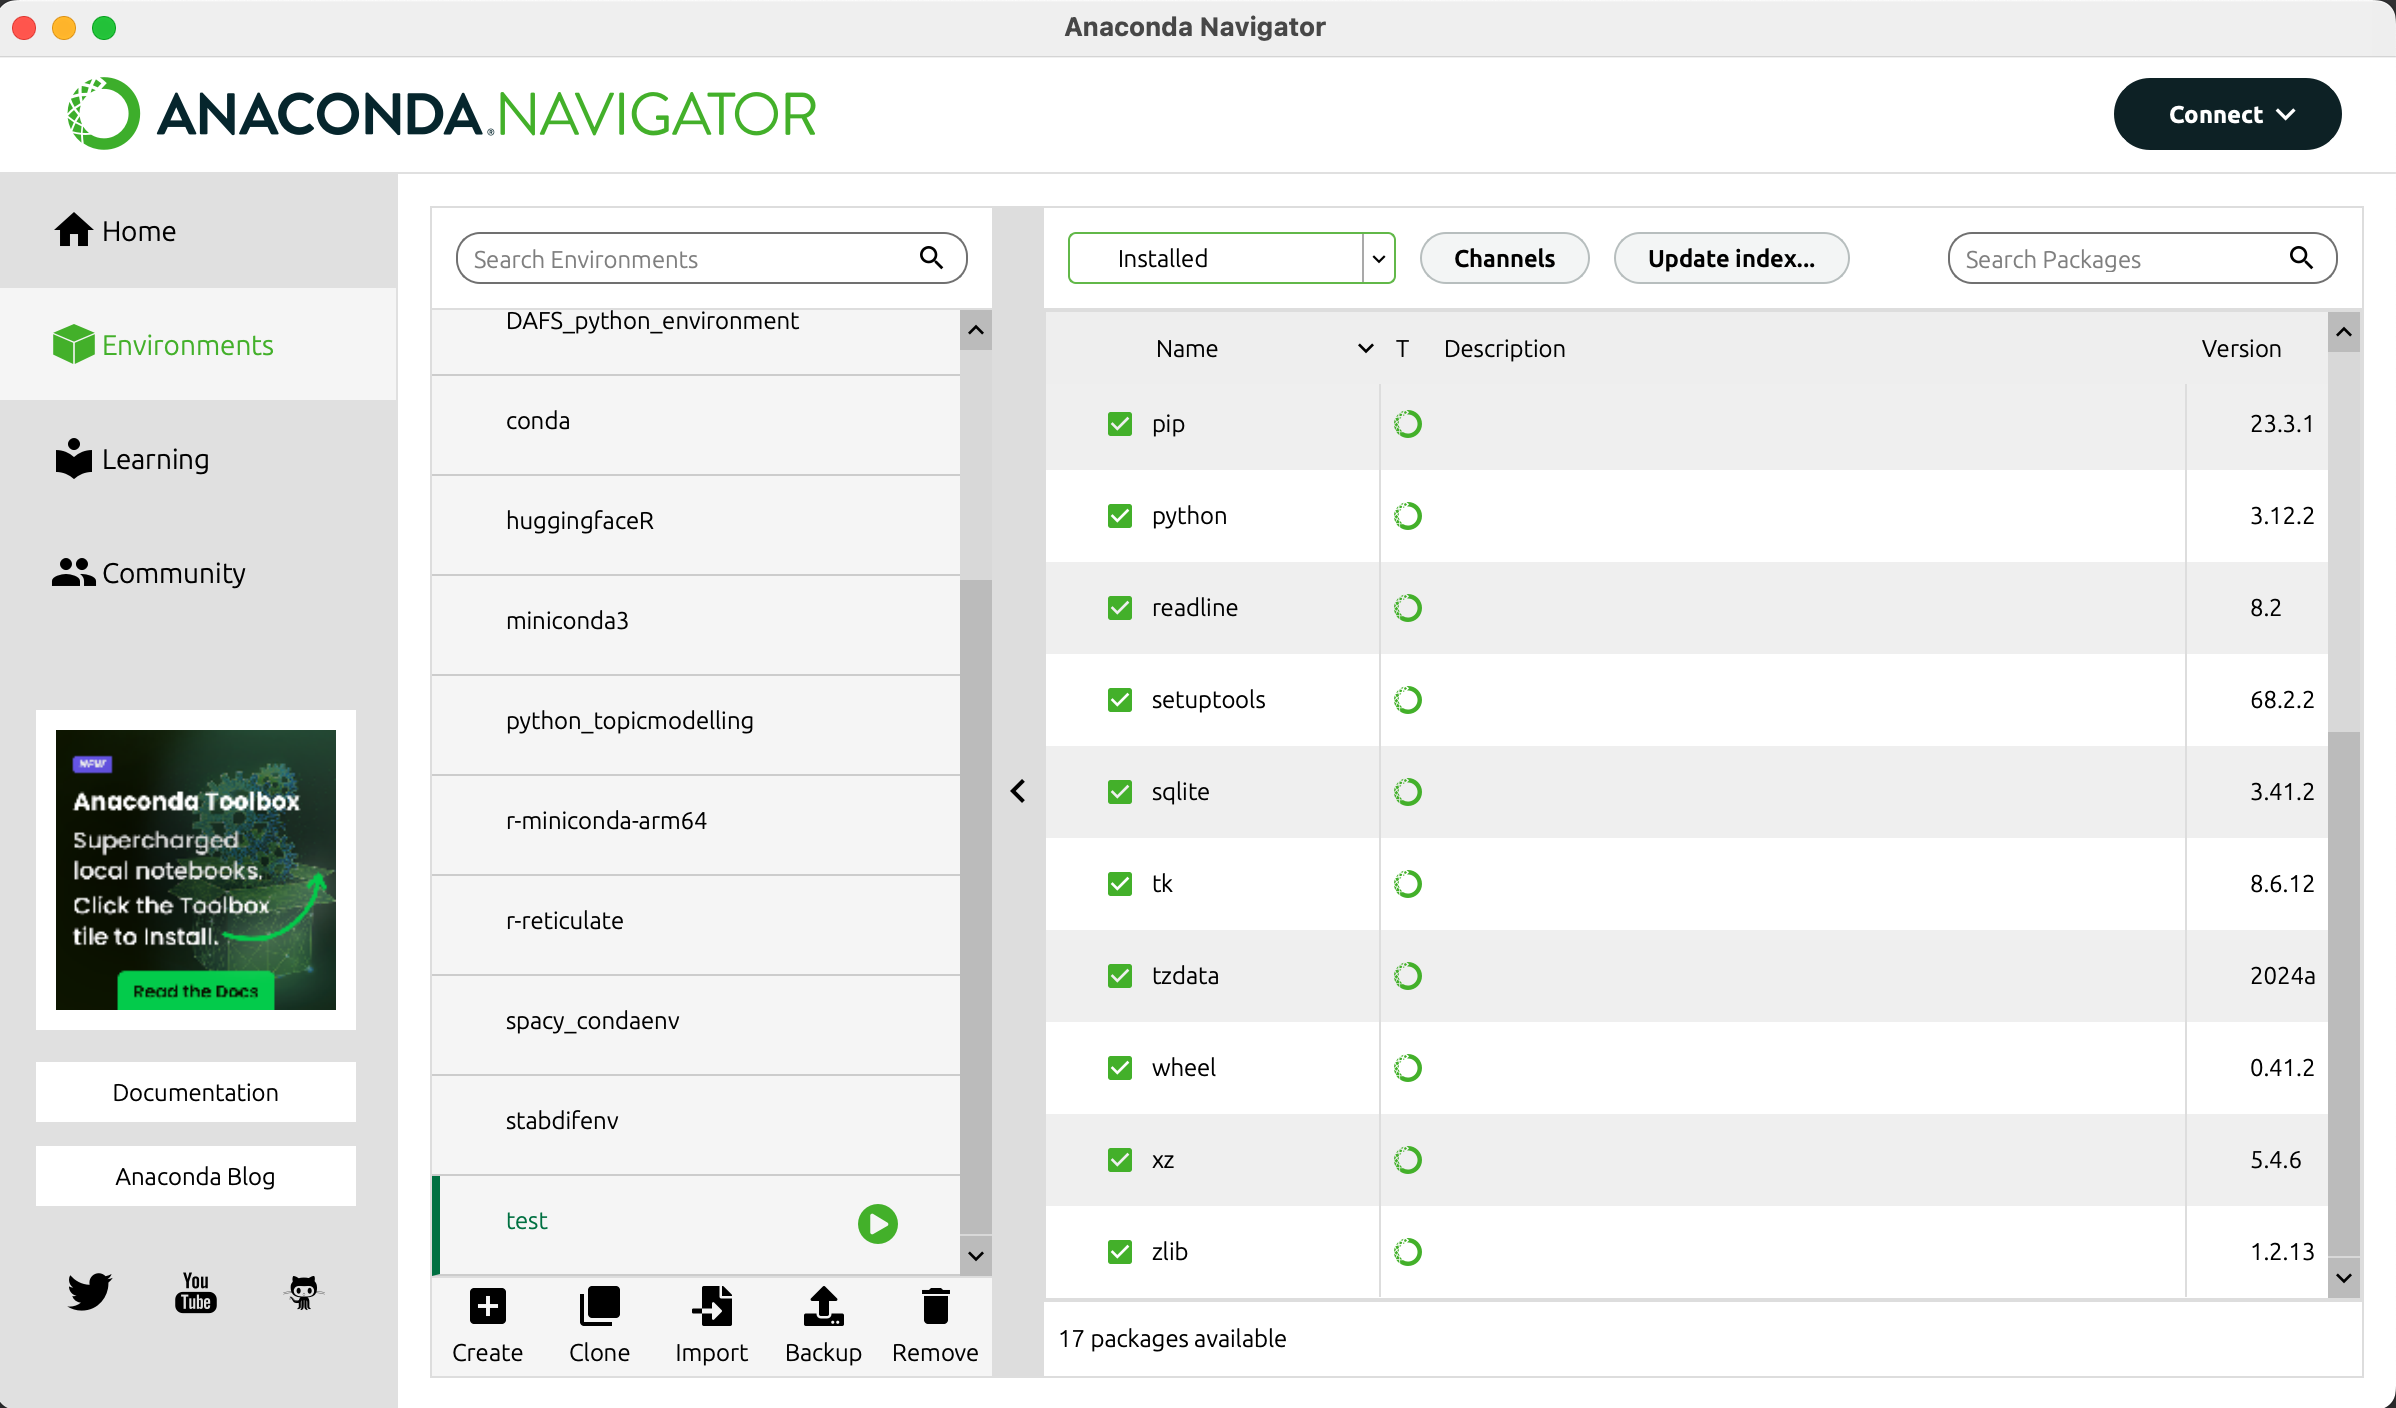
After a while, the window should load and a green play button should appear next to the enviroment you just created. For the purpose of this tutorial I’ve called the environment “test”, it now has the play button next to it meaning it’s now the active environment. The packages on the right are the packages installed by default in the environment.
Click on the home button on the top left to go back to the home screen:
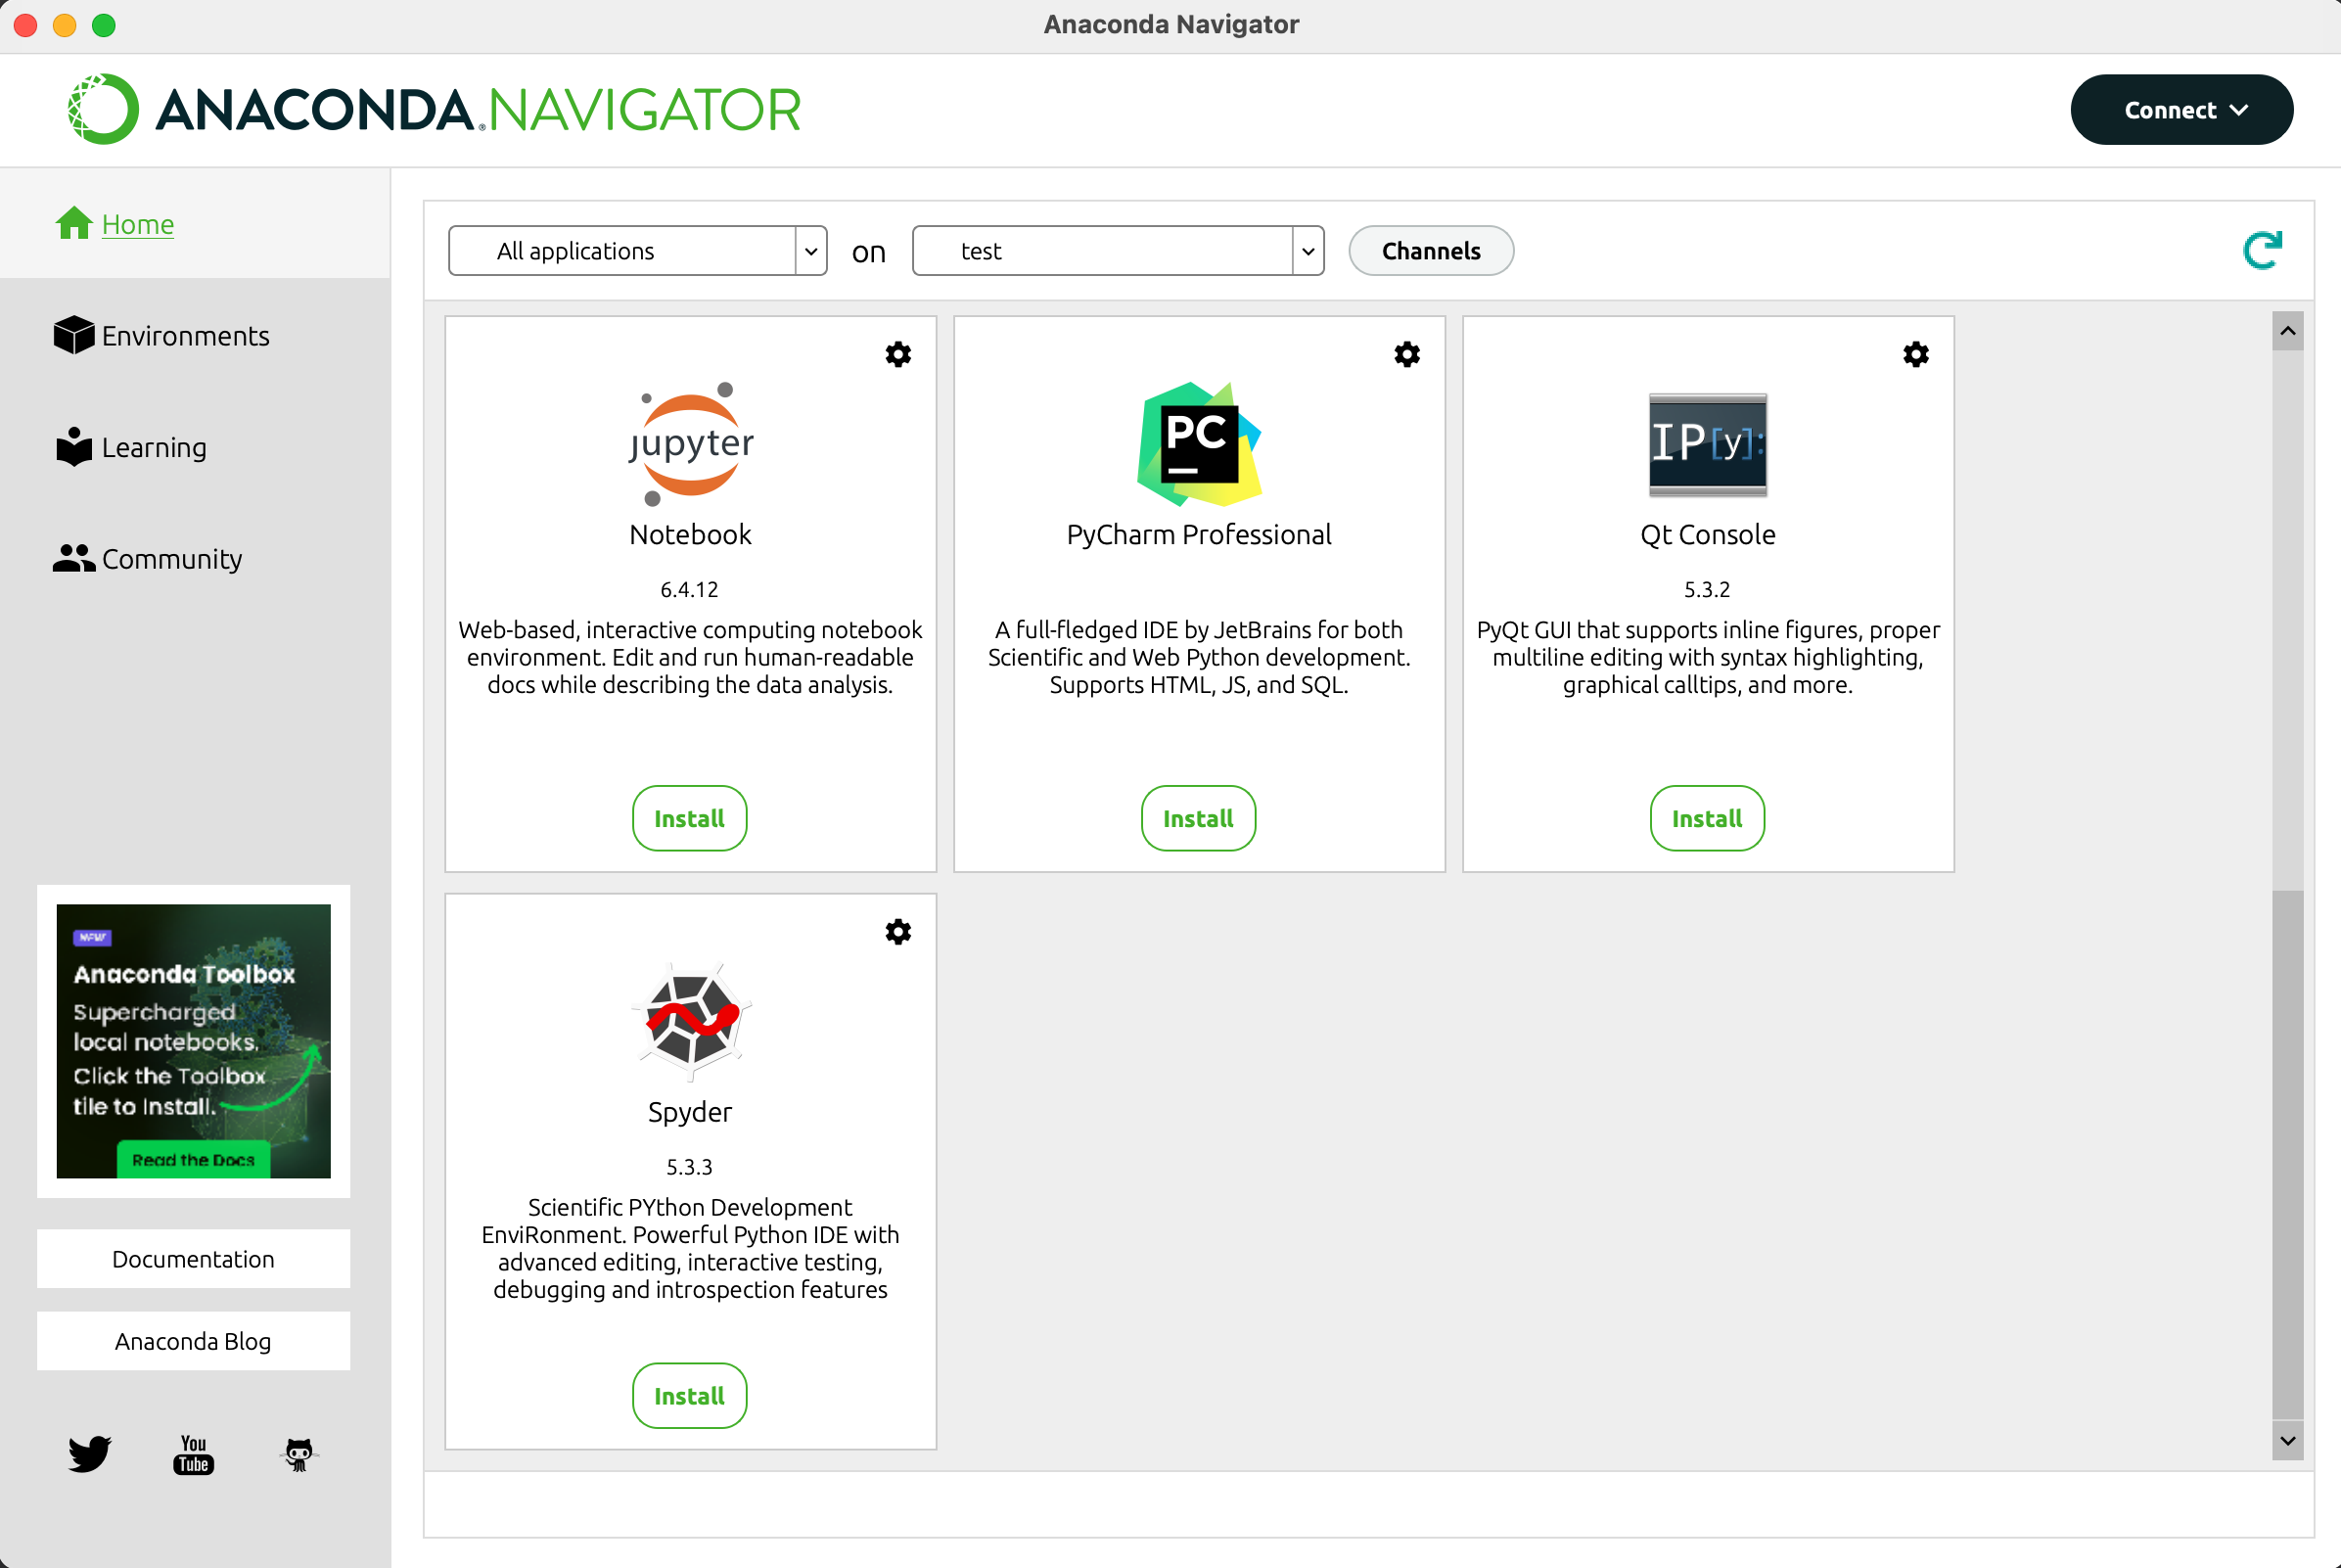
You now have the option to install different interfaces to interact with python. For the purpose of this tutorial we will use jupyter. Click the install button below the logo to install.
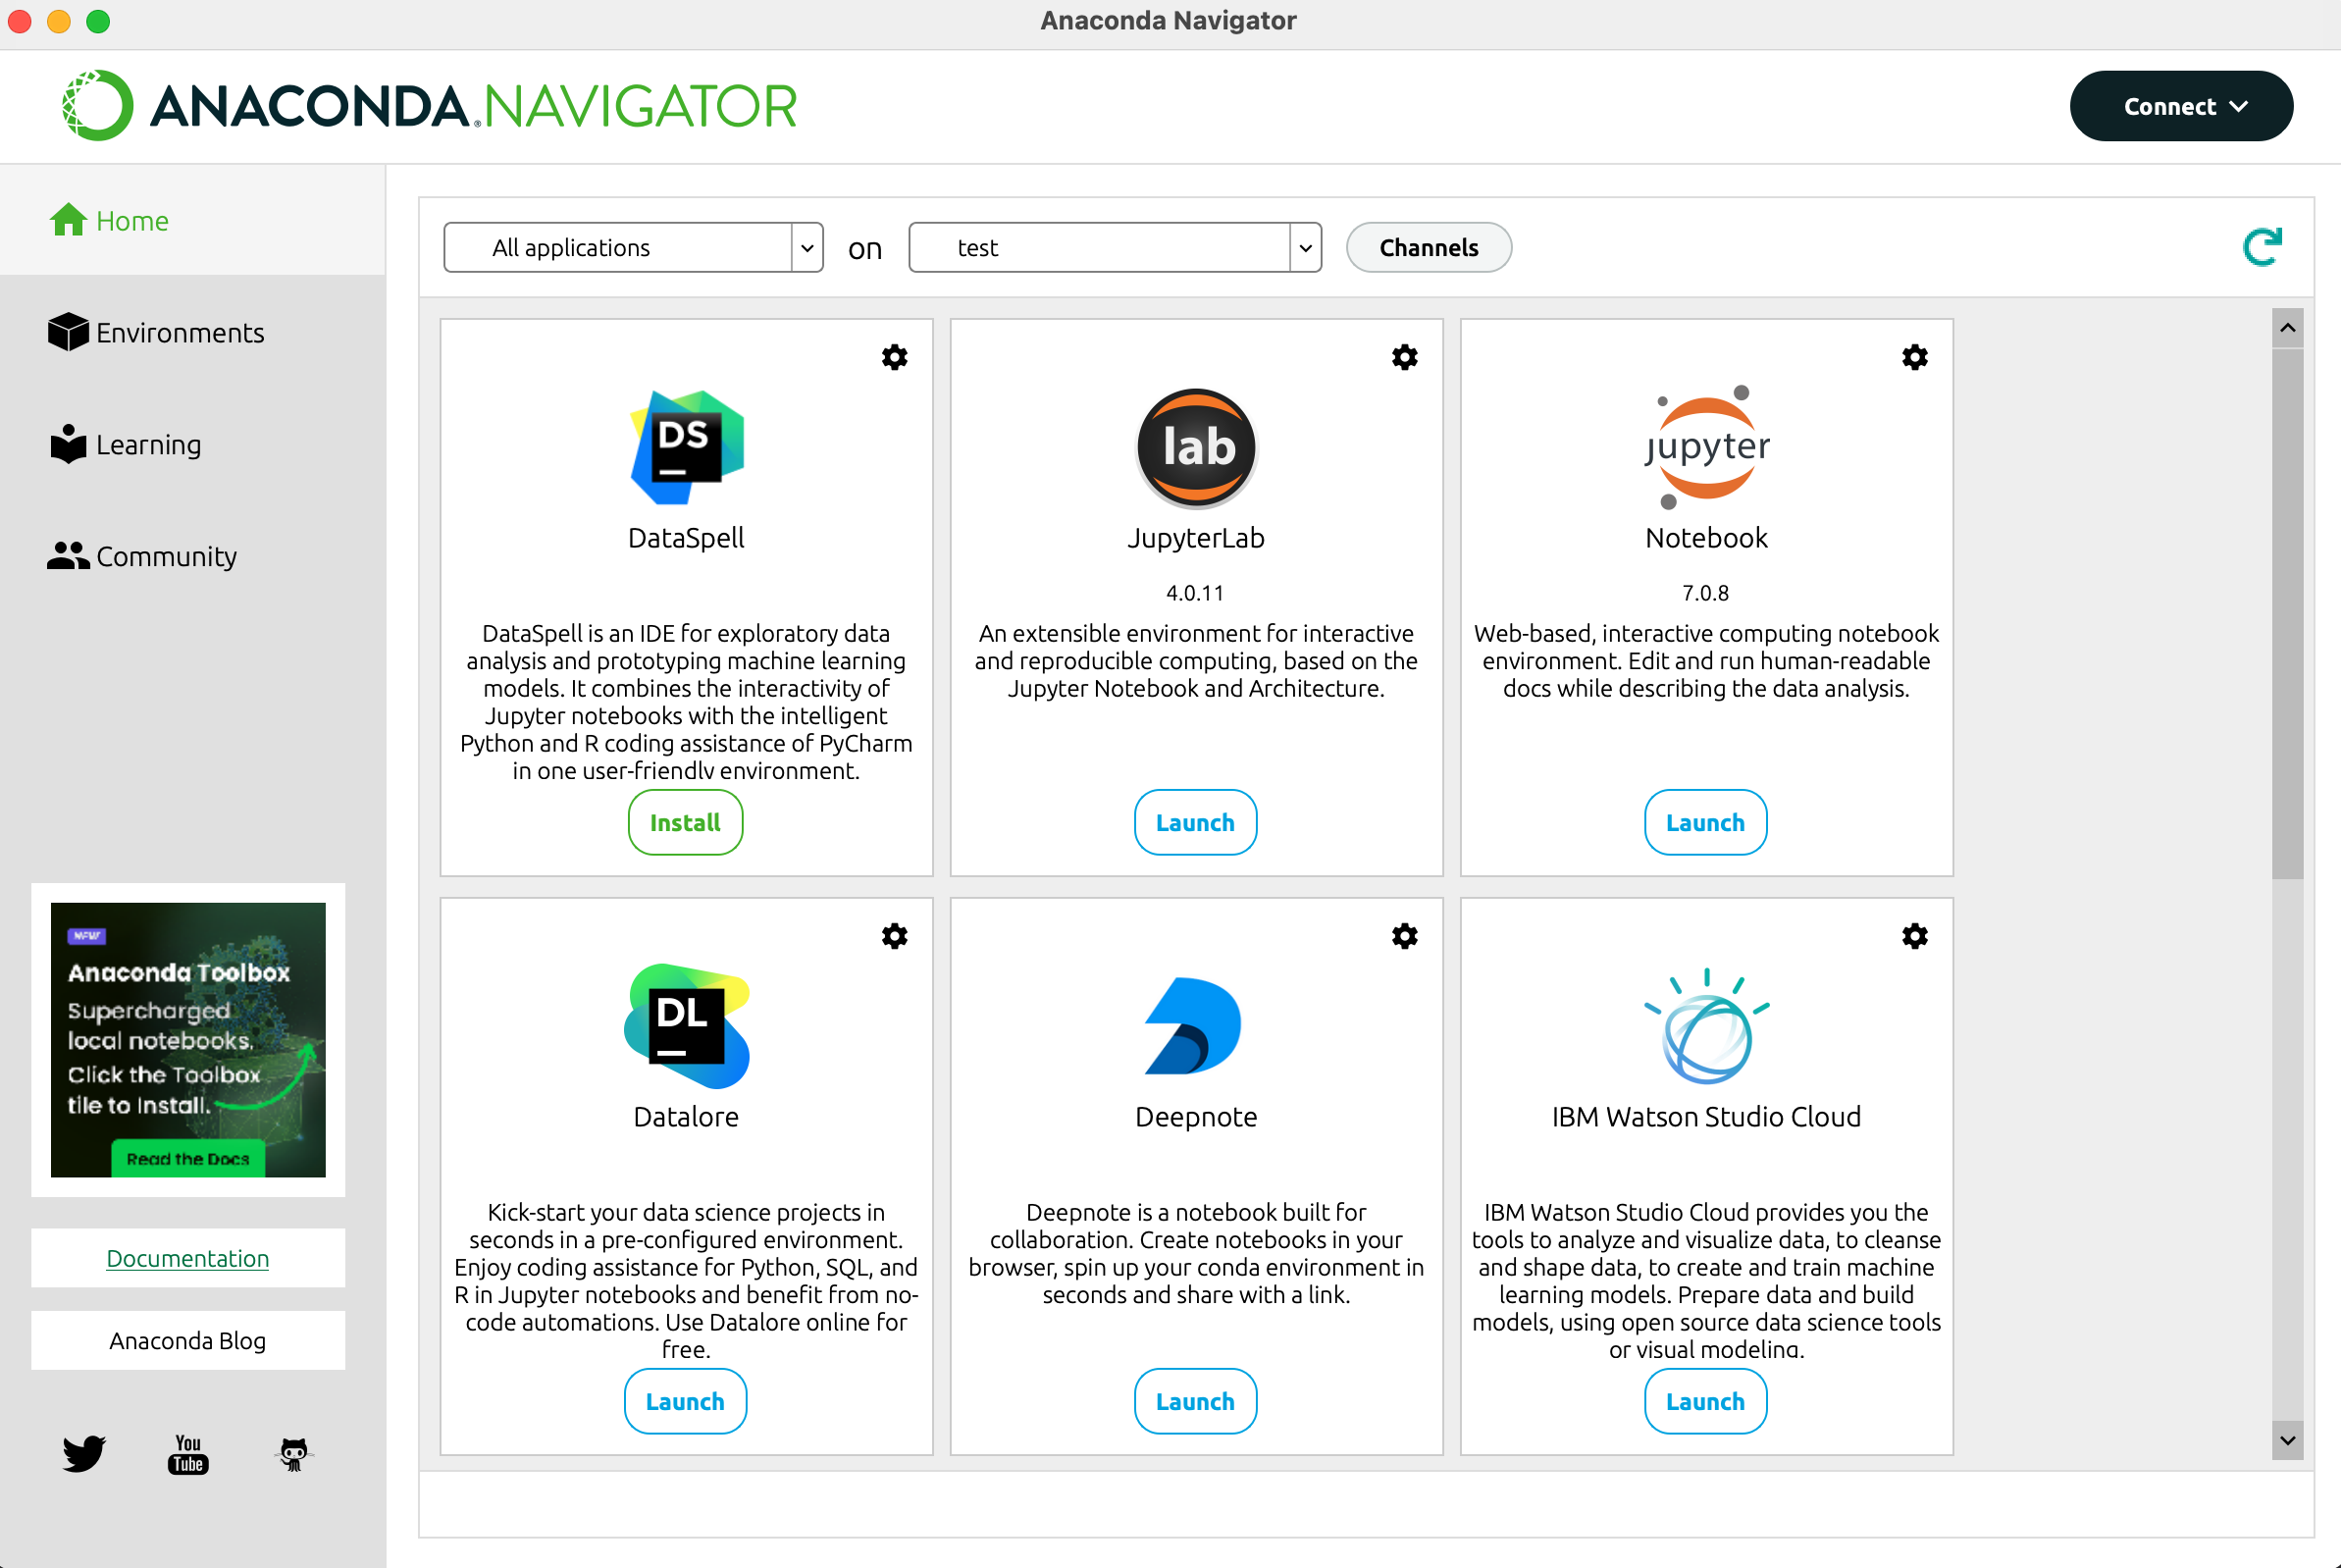
After a while the window should reload and you should now have a “launch” button below jupyter. Jupyter allows you to program in python in your internet browser of choice. This will work even if you’re not connected to the internet.
1.2 Setting up Jupyter
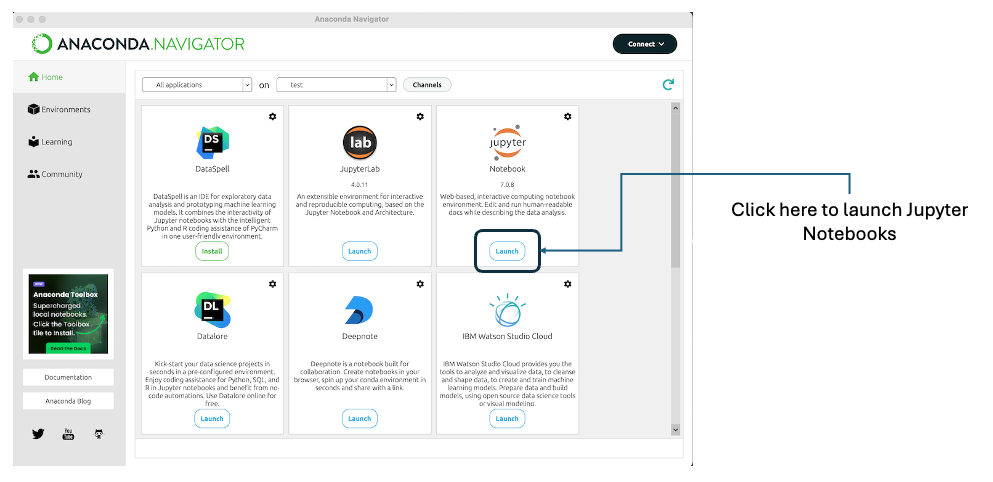
In anaconda you will have the choice between different code editors. For the purpose of this course we will use Jupyter. Jupyter is a code editor that opens in your favorite internet browser (it does not require an internet connection to function). To start, click on the “Launch” button below Jupyter as shown below:
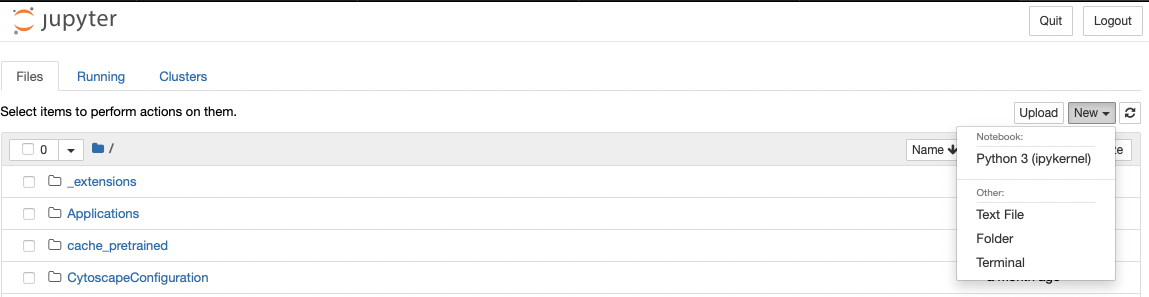
Your navigator should appear with the following page open. On this page we are going to create a new notebook. A notebook is equivalent to a word document, but for programming. You will be able to save all your code in this file.

Once you have clicked on “Notebook” you will be prompted to select a Kernel. Different versions of python exist and different applications may require different versions of python. For our purpose 3 works. For other packages you might want to use this might be different. Always check the version required for the packages you are going to use.

Once you’ve selected this (or if you have already done this in the past) you will have the option to create directly a new notebook with this kernel:
This will open your first notebook. The first action we will take is change the name of the notebook. This can be done by clicking on “untitled1” next to the Jupyter logo on the top left of the page as shown below. You will then be prompted to provide a new name. Let’s give it the name “Bertopic_Tutorial”.

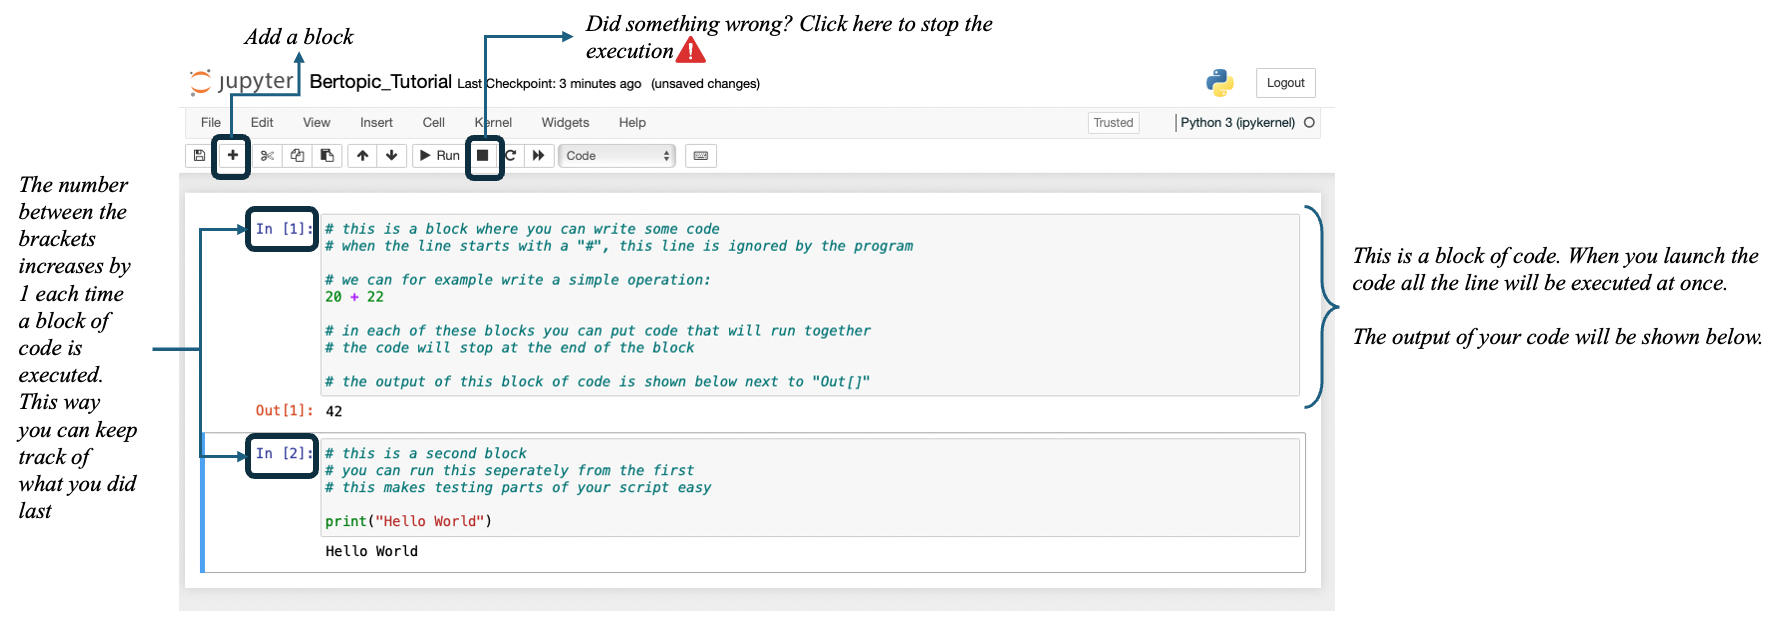
Some basics on the structure. Jupyter functions with blocks that you can execute one by one. This makes trouble shooting easier. The numbers next to the blocks show the order in which you ran the blocks. If there is no number the block has not yet been run, if there is a star (*) then the block is currently running. Blocks can be easily added and removed as you develop your code. Note that adding comments can be done by starting a line with a #.
We should now be good to go!